In this digital age, a strong and reliable internet connection is crucial for both work and leisure. However, weak WiFi signals can be frustrating, especially when you're experiencing dead zones in your home or office. Netgear, a renowned technology company, offers an effective solution to this problem with its WiFi extenders. In this article, we will guide you through the process of setup for netgear extender, ensuring that you can enjoy seamless internet connectivity throughout your space.
Understanding WiFi Extenders
What is a WiFi Extender?
A WiFi extender, also known as a WiFi booster or repeater, is a device designed to expand the coverage area of your existing wireless network. It receives the WiFi signal from your router and rebroadcasts it, amplifying the signal to reach areas with poor connectivity. This enables you to enjoy a stable internet connection in every corner of your home or office.
How Does a WiFi Extender Work?
A WiFi extender works by connecting to your existing wireless network. It acts as an intermediary between your router and devices, capturing the WiFi signal and transmitting it further. By doing so, it effectively eliminates dead spots and weak signal areas, providing a seamless internet experience.
Benefits of Netgear WiFi Extenders
Enhanced WiFi Coverage
Netgear WiFi extenders are designed to significantly extend the reach of your WiFi network. With their advanced technology, you can enjoy a stronger connection even in distant rooms or spaces far from your router.
Simple Installation Process
Setting up a Netgear WiFi extender is a hassle-free process. The package comes with straightforward instructions, and the user-friendly interface makes the installation quick and easy, even for those with limited technical knowledge.
Universal Compatibility
Netgear WiFi extenders are compatible with most routers and internet service providers. This ensures that you won't face any compatibility issues, allowing you to enjoy an uninterrupted and seamless internet experience.
Preparing for the Setup
Gathering Necessary Equipment
Before diving into the setup process, ensure you have all the required equipment. You will need the following:
- Netgear WiFi extender
- A WiFi-enabled device (laptop, smartphone, or tablet)
- Your existing WiFi network name (SSID) and password
- A power outlet near the location where you plan to place the extender
Finding the Ideal Location
To maximize the extender's performance, find an optimal location with a strong WiFi signal. Avoid placing it in areas with obstructions like walls or large metal objects that can interfere with the signal transmission.
Step-by-Step Setup Guide
Connecting the WiFi Extender
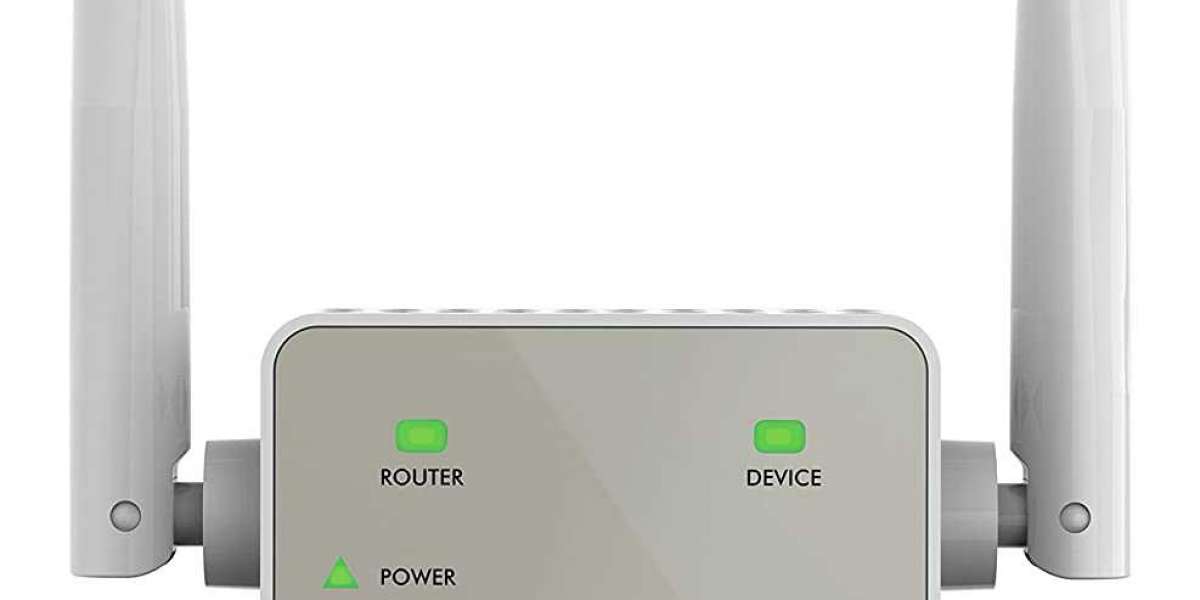
- Plug the WiFi extender into a power outlet near your router.
- Wait for the power LED to turn solid green.
Accessing the Configuration Page
- On your WiFi-enabled device, open a web browser.
- In the address bar, type "http://www.mywifiext.net" and press Enter.
- You will be directed to the Netgear extender's setup page.
Configuring Basic Settings
- Follow the on-screen instructions to set up your WiFi extender.
- Select your existing WiFi network from the list of available networks.
- Enter your network's password when prompted.
- Click "Apply" to save the settings.
Advanced Configuration Options
Changing Network Name (SSID) and Password
To change your WiFi extender's network name and password:
- Access the Netgear extender's configuration page as described earlier.
- Go to the "Wireless Settings" section.
- Enter your desired network name (SSID) and password.
- Click "Apply" to save the changes.
Adjusting Bandwidth and Channels
For advanced users, the extender allows you to adjust bandwidth and channels for optimal performance:
- Access the Netgear extender's configuration page.
- Navigate to the "Wireless Settings" section.
- Modify the settings as per your preferences.
- Click "Apply" to apply the changes.
Enabling FastLane Technology
Netgear WiFi extenders support FastLane technology, which prioritizes bandwidth for either speed or extended range:
- Access the Netgear extender's configuration page.
- Go to the "Wireless Settings" section.
- Enable FastLane and choose your preferred option.
- Click "Apply" to save the changes.
Troubleshooting Common Issues
No LED Lights or Power Indication
If the extender's LED lights are not turning on:
- Check if the extender is properly plugged into a power outlet.
- Try using a different power outlet.
- If the issue persists, contact Netgear support.
Inconsistent Connection
If you experience intermittent connectivity:
- Ensure the extender is placed in an optimal location.
- Check for possible sources of interference.
- Update the extender's firmware to the latest version.
Forgetting Network Credentials
If you forget your extender's network name or password:
- Reset the extender to factory settings.
- Reconfigure the extender using the setup guide.
Maintaining and Updating Your Extender
Firmware Updates
Regularly updating your extender's firmware is essential for optimal performance and security. To update the firmware:
- Access the Netgear extender's configuration page.
- Check for firmware updates in the "Administration" or "Advanced" section.
- Follow the instructions to install the latest firmware.
Regular Maintenance Tips
To keep your WiFi extender functioning at its best:
- Clean the extender's exterior with a soft, dry cloth.
- Ensure proper ventilation around the device.
- Avoid exposing the extender to extreme temperatures.
Conclusion
A Netgear WiFi extender is a reliable and easy-to-use solution for extending the range of your WiFi network. By following the simple setup guide and making use of its advanced features, you can say goodbye to WiFi dead zones and enjoy seamless connectivity throughout your space.