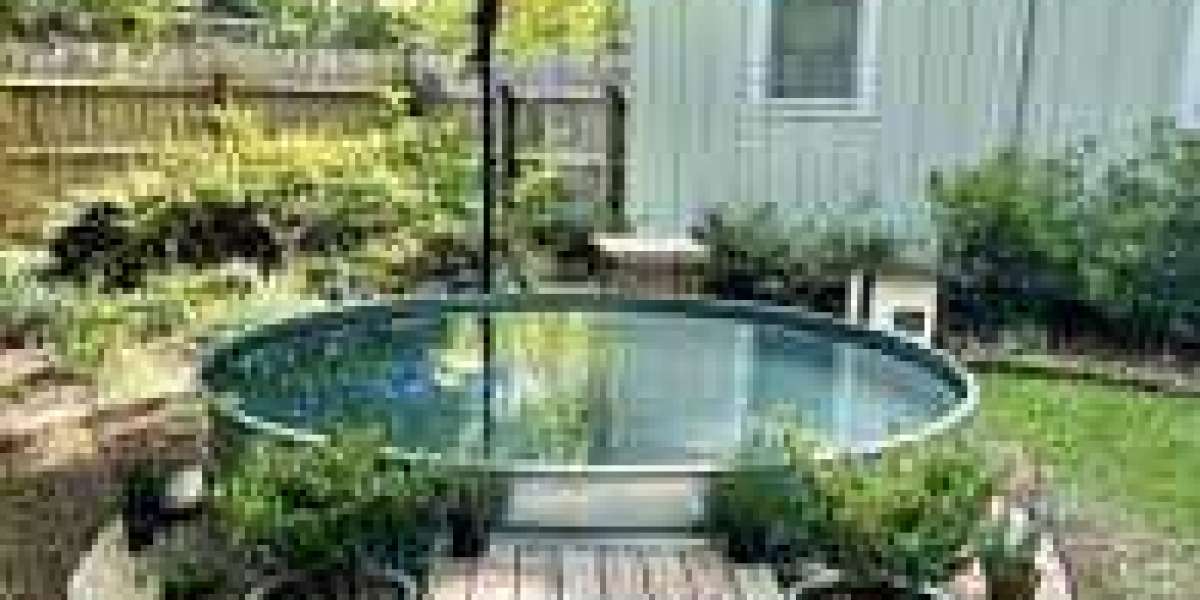
Installing a DIY pool kit is a fantastic way to enjoy summer fun without the cost of professional installation. Here’s an 8-step guide to help you install your own pool kit, so you can cool off in style!
1. Choose the Right Location
- Find a level area: Pick a spot in your yard that is flat, free of rocks and debris, and receives plenty of sunlight.
- Check local codes: Ensure the location complies with local building codes and safety regulations. Also, check for underground utilities before digging.
2. Prepare the Ground
- Clear the area: Remove any grass, roots, or debris from the area.
- Level the ground: Use a shovel or rented equipment to level the area. This step is crucial for pool stability.
- Add a base layer: Spread a layer of sand or fine gravel (about 2 inches deep) across the leveled area. This will protect the pool liner from sharp objects and improve drainage.
3. Lay the Pool Liner or Frame
- Unpack the pool kit: Lay out all parts of the pool kit and review the instructions thoroughly.
- Lay the liner: If your pool uses a liner, carefully spread it across the base and smooth out any wrinkles.
- Assemble the frame: For framed pools, follow the manufacturer’s instructions to assemble the metal or plastic frame. Make sure all parts are securely connected.
4. Fill the Pool with Water
- Fill slowly: Begin filling the pool with water while smoothing the liner (if applicable) to avoid wrinkles.
- Check for level: As the pool fills, ensure the water level stays even. If it begins to tilt to one side, stop and adjust the ground.
5. Install the Pump and Filter
- Position the pump: Place the pool pump and filter near the pool, where they will have access to the water.
- Connect the hoses: Attach the intake and return hoses to the designated ports on the pool and the pump. Make sure the connections are tight and secure.
- Prime and start the pump: Prime the pump according to the instructions and start it to ensure water is circulating properly.
6. Add Pool Chemicals
- Test the water: Use pool test strips to check the pH, chlorine, and alkalinity levels of your pool water.
- Add chemicals: Balance the water by adding chlorine and any necessary chemicals to keep the water safe for swimming. Follow the pool kit’s instructions for recommended levels.
- Regular maintenance: Keep chemicals on hand for regular maintenance throughout the summer.
7. Set Up Safety Features
- Install a pool ladder: Most pool kits come with a ladder. Secure it according to the instructions to ensure safe entry and exit.
- Install fencing or barriers: In some areas, safety fencing may be required by law to prevent accidental access by children or pets.
- Cover the pool: Consider getting a pool cover to protect the water from debris and to add safety when the pool is not in use.
8. Decorate and Enjoy
- Accessorize the pool area: Add lounge chairs, umbrellas, and pool floats to create a comfortable, fun atmosphere.
- Add lighting: Install outdoor lights or string lights around the pool area for evening swims.
- Enjoy your pool: Jump in and cool off!
Recap of the 8 Steps:
- Choose the location: Pick a flat, sunny spot.
- Prepare the ground: Clear and level the area.
- Lay the pool liner or frame: Assemble according to the instructions.
- Fill the pool: Begin filling and smooth out any wrinkles.
- Install the pump and filter: Ensure proper water circulation.
- Add chemicals: Balance the water for safety.
- Set up safety features: Install ladders, barriers, and a cover.
- Decorate and enjoy: Set up your pool space and dive in!
By following these 8 simple steps, you’ll have your DIY pool kit installation and ready for summer fun in no time!