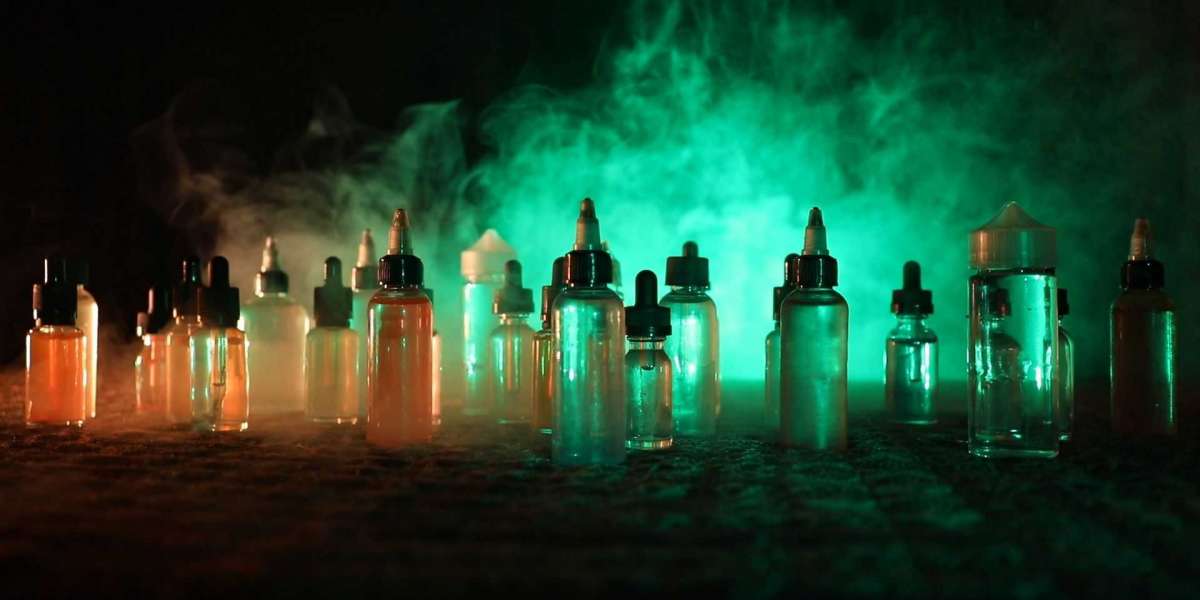
Making your own eLiquid at home can be a rewarding and cost-effective way to enjoy vaping. It allows you to customize flavors, nicotine strengths, and PG/VG ratios to suit your preferences. This guide will take you through the step-by-step process of creating your own eLiquid, ensuring you have a safe and enjoyable experience.
Ingredients and Equipment
Ingredients
- Propylene Glycol (PG): A flavor carrier that provides a stronger throat hit.
- Vegetable Glycerin (VG): Produces thicker vapor and offers a smoother throat hit.
- Nicotine: Available in various concentrations. Use with caution.
- Flavor Concentrates: Food-grade flavorings specifically designed for eLiquids.
Equipment
- Syringes or Pipettes: For precise measurement of liquids.
- Empty eLiquid Bottles: To store your finished product.
- Gloves: To handle nicotine safely.
- Labels: To mark your creations with the date and contents.
- Mixing Containers: Glass or plastic containers to mix your ingredients.
Safety Precautions
- Handle Nicotine with Care: Nicotine is toxic in high concentrations. Always wear gloves and work in a well-ventilated area.
- Store Safely: Keep all ingredients, especially nicotine, out of reach of children and pets.
- Label Clearly: Ensure all your homemade eLiquids are clearly labeled to avoid confusion.
Step-by-Step Guide
Step 1: Determine Your Desired Nicotine Strength
Decide on the nicotine strength you want in your eLiquid. Common strengths range from 0mg (nicotine-free) to 18mg or higher per milliliter.
Step 2: Calculate Your Ratios
Use an eLiquid calculator to determine the amounts of PG, VG, nicotine, and flavor concentrates you'll need based on your desired final volume. A typical starting point for beginners is a 50/50 PG/VG ratio.
Step 3: Measure Your Ingredients
Using syringes or pipettes, measure out the required amounts of PG, VG, nicotine, and flavor concentrates. For example, if making 100ml of eLiquid with 6mg nicotine strength and 10% flavoring, you might need:
- 50ml VG
- 30ml PG
- 10ml Nicotine (at 60mg/ml)
- 10ml Flavor Concentrate
Step 4: Mix Your Ingredients
In a clean mixing container, combine the measured PG, VG, nicotine, and flavor concentrates. Stir or shake the mixture thoroughly to ensure all components are evenly distributed.
Step 5: Steep Your eLiquid
Steeping is the process of allowing your eLiquid to mature so that the flavors blend and develop. Store your mixture in a cool, dark place for 1-2 weeks, shaking the bottle daily. Some flavors may require longer steeping times to reach their full potential.
Step 6: Test and Adjust
After steeping, test your eLiquid by filling a small amount into your vape device. Evaluate the flavor and adjust if necessary by adding more flavor concentrate or altering the PG/VG ratio. Make any adjustments gradually and allow additional steeping time.
Conclusion
Making your own best eliquid at home is a customizable and economical way to enhance your vaping experience. By carefully measuring your ingredients, following safety precautions, and allowing proper steeping time, you can create high-quality, personalized eLiquids. Experiment with different flavors and ratios to find your perfect blend, and enjoy the satisfaction of vaping a creation that’s uniquely yours.


