
FlutterFlow is a powerful visual UI builder for Flutter apps. It streamlines the app development process by offering a drag-and-drop interface for managing app navigation, integrating functionality, and designing UI layouts without requiring substantial manual code writing.
Key Features of Flutterflow
- Visual UI Builder: Developers can create intricate UI layouts without writing code thanks to the user-friendly drag-and-drop interface.
- Code Generation: Using the design produced in the visual builder as a basis, FlutterFlow generates neat and effective Flutter code.
- Component Reusability: Developers can ensure consistency across the application and accelerate development by creating reusable UI components and templates.
- Real-Time Preview: This feature allows for quick iteration and experimentation by instantly reflecting changes made in the visual builder in the preview.
- Integration with the Flutter Ecosystem: FlutterFlow's versatility and functionality are increased by its smooth integration with the larger Flutter ecosystem, which includes plugins, packages, and outside services.
Understanding FlutterFlow UI
Developers may visually design, customise, and improve their Flutter applications with the help of FlutterFlow's UI menus, which offer a variety of tools and functionalities. The main elements present in the UI menus of FlutterFlow are summarised as follows:
- Toolbar: The top bar is called toolbar. It includes information such as FlutterFlow and Flutter versions, project name, project suggestions, project issues along with options to run app and export project options.

- Navigation menu: On the left side we have a navigation menu. It is useful to switch between widget palette, page selector, widget tree, connect options for firebase, api calls, app state and many more settings. For most of the functionalities that we want to implement we will need to use this menu.
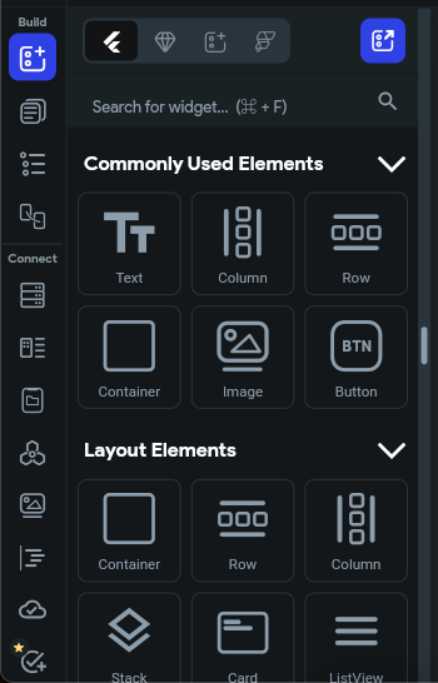
- Properties panel: On the right side we have a panel called properties panel. This is the place where we can change page specific properties such as page parameters, route settings, state variables and also widget specific properties such as padding, alignment, visibility, text, font size, color, etc.

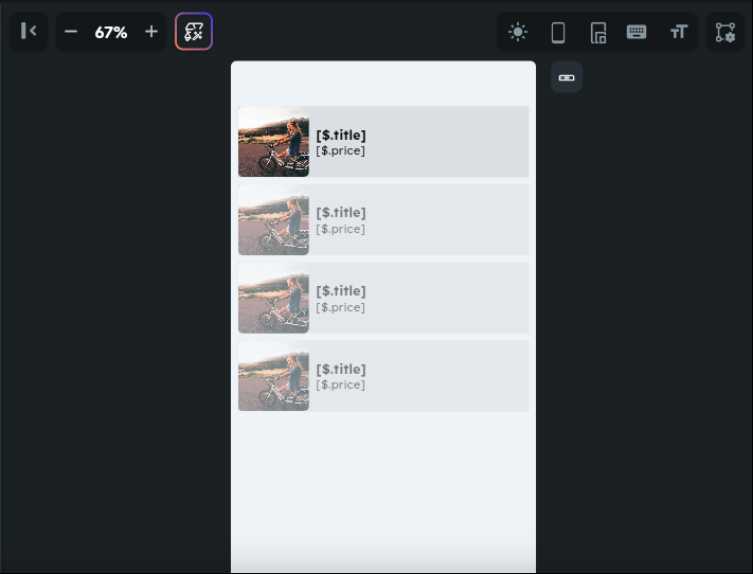
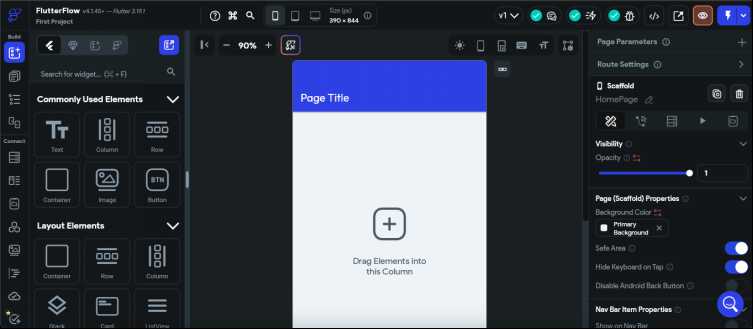
- Canvas area : This is the space where we can see preview of the UI that we have created using our widgets. It also includes options such as zoom in/out, dark mode, adjust text scale and canvas settings.
Steps to get started with FlutterFlow
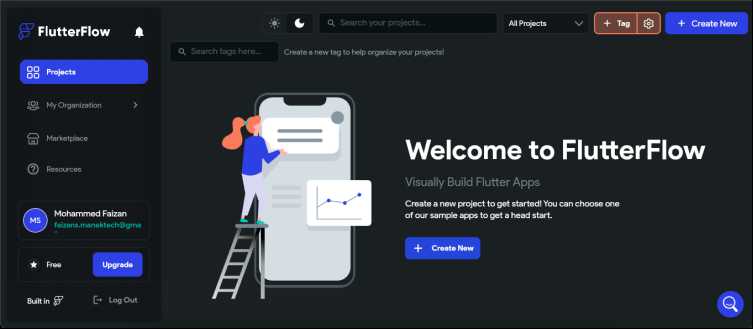
- Go to https://app.flutterflow.io/
- Create a new account or sign in with your google/apple/github/microsoft account.
- After sign in you will be redirected to dashboard
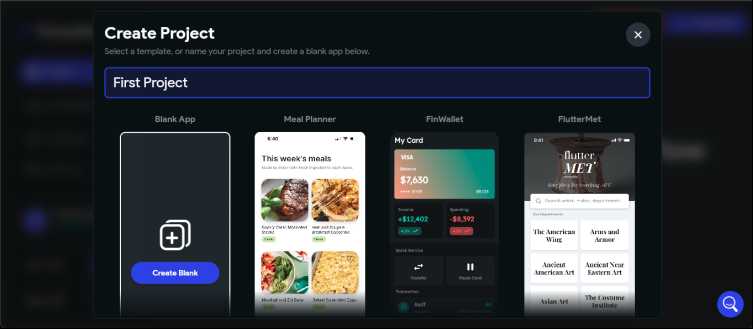
- In Projects tab click on Create New button
- Next screen will ask for Project name enter any name here and click on “Create blank” button, you can also choose template of your choice.
- Following screen will appear now

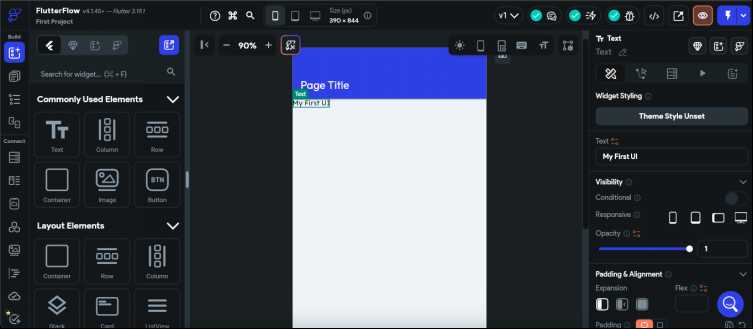
- From widgets panel on left drag and drop “Text” widget and place it on right side screen preview.
- Now click on the text “Hello world”, on the right side panel you can change this text.
How to Check for UI Responsiveness in FlutterFlow?
On toolbar you will see an option to choose such as mobile phone, tablet and desktop, select device of you choice. Now you can also right click on it to choose a specific device model and the canvas preview will change according to the device model selected. Additionally, you can select portrait or landscape from bottom.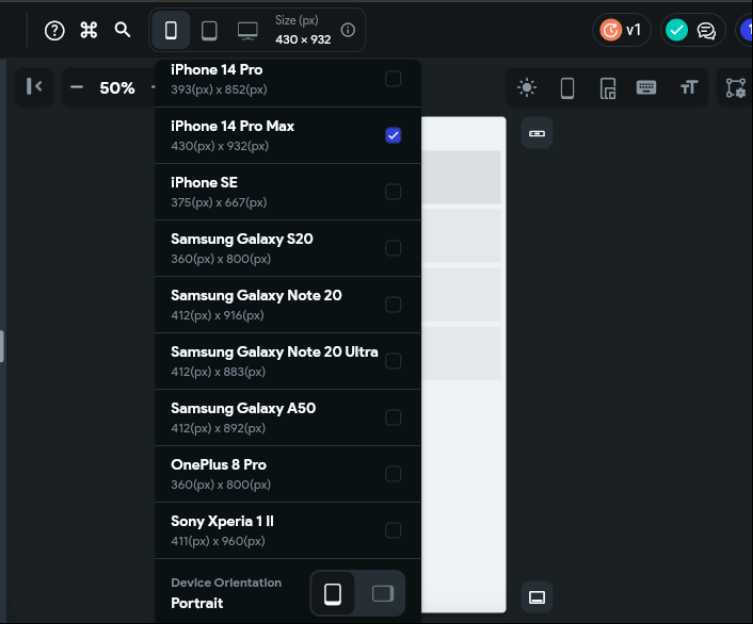
Features in Paid Plan
- Running app on emulator/physical device: On its paid plan we can run the app in our own emulator/physical device.
- Export code: To export the Flutter and dart code from any project we need to buy their paid plan.
- Advanced Publishing and Distribution: Paid tiers offer additional tools or features for app publishing and distribution, such as app store deployment, analytics, or monetization options.
- Collaboration tools: Paid tiers include collaboration features, such as team management, real-time collaboration and version control, to facilitate teamwork on projects.