Is your roof giving you sleepless nights due to cracked tiles? Don't panic! We've got you covered. Dealing with cracked roof tiles can seem daunting, but with the right approach, you can salvage your roof and save your wallet from a major dent. In this comprehensive guide, we'll walk you through how to repair a cracked roof tile in 7 simple steps. Let's dive in!
Understanding the Severity of the Damage
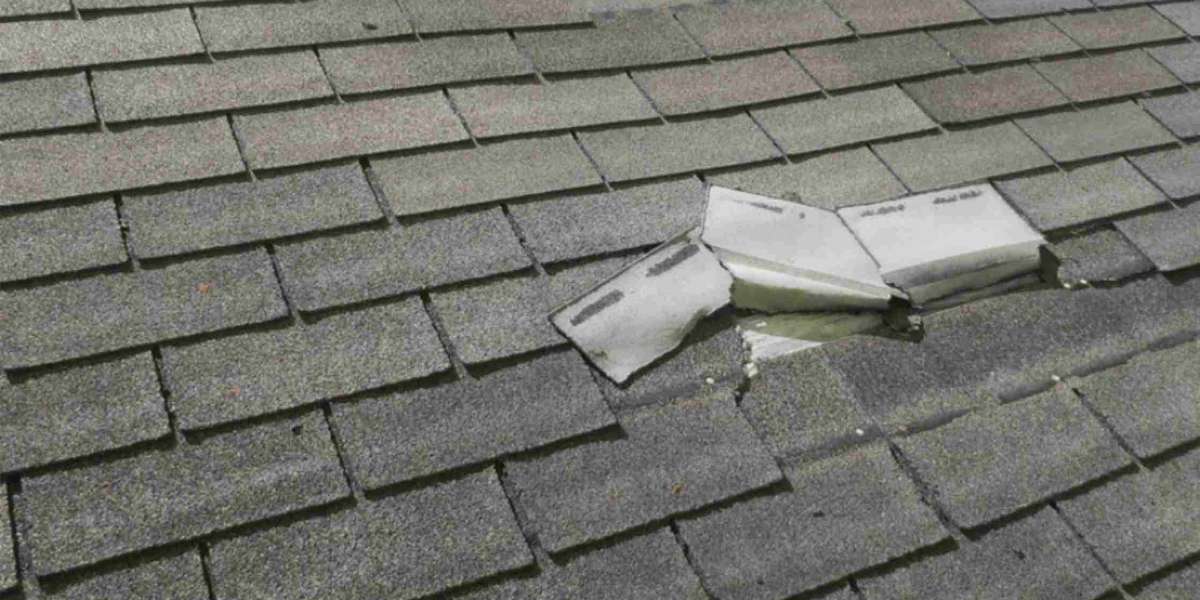
Before diving into repairs, it's crucial to assess the severity of the damage. Cracked roof tiles can range from minor hairline fractures to significant splits. Inspect your roof carefully to identify the extent of the damage. While minor cracks may only require simple repairs, larger splits might necessitate professional intervention.
Gathering the Necessary Tools and Materials
Once you've assessed the damage, it's time to gather the tools and materials needed for the repair job. You'll typically need replacement tiles, roofing adhesive, a putty knife, a hammer, safety goggles, and gloves. Make sure you have everything on hand before starting the repair process to avoid unnecessary delays.
Preparing the Work Area
Before getting started, it's essential to prepare the work area to ensure safety and efficiency. Clear any debris or obstacles from the roof and use caution when working at heights. Additionally, consider the weather conditions; it's best to avoid repairing your roof during inclement weather to prevent accidents.
Removing the Damaged Tile
With the work area prepared, it's time to remove the damaged tile. Use a putty knife to gently pry up the surrounding tiles and expose the cracked tile. Carefully lift the damaged tile out of place, taking care not to damage adjacent tiles in the process.
Cleaning and Preparing the Surface
Once the damaged tile is removed, it's crucial to clean and prepare the surface for the replacement tile. Remove any debris or old adhesive from the area using a putty knife or wire brush. Ensure that the surface is clean and dry before proceeding to the next step.
Installing the Replacement Tile
With the surface prepared, it's time to install the replacement tile. Apply roofing adhesive to the back of the tile and carefully position it in place, ensuring a snug fit with the surrounding tiles. Use gentle pressure to secure the tile in position, taking care not to crack or damage it during installation.
Final Inspections and Maintenance Tips
Once the replacement tile is in place, take a step back and inspect the repair job. Ensure that the tile is securely positioned and that there are no visible gaps or signs of damage. Additionally, consider implementing regular roof maintenance practices to prevent future issues and prolong the lifespan of your roof.
In conclusion, dealing with a cracked roof tile doesn't have to be a nightmare. By following these 7 steps, you can salvage your roof and your wallet with minimal hassle. Remember to assess the damage, gather the necessary tools, prepare the work area, remove the damaged tile, clean and prepare the surface, install the replacement tile, and conduct final inspections. With the right approach and attention to detail, you can restore your roof to its former glory and enjoy peace of mind knowing that your home is well-protected.